
His clients, who were moving from a small apartment in the city, didn’t have a definite idea of what they wanted. Instead, they trusted their interior designer, wanting to see what Ken would do.
Where do you start?
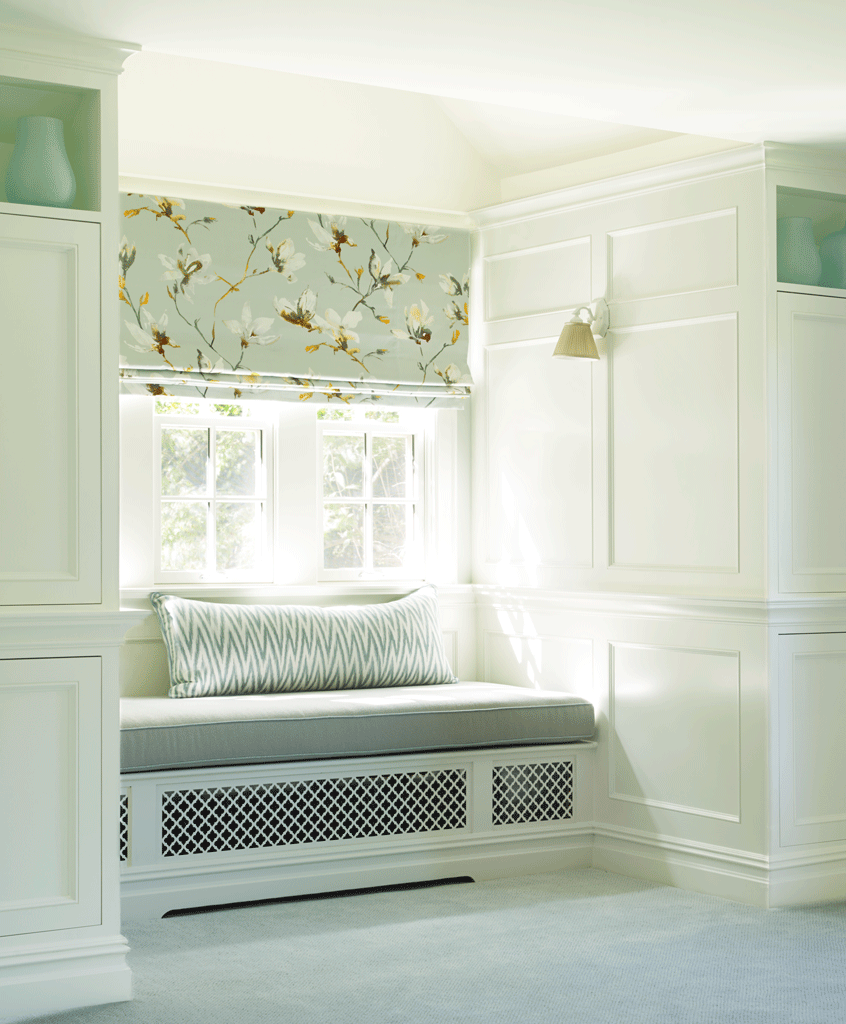
I’m very textile driven, so I usually start with some sort of print. Usually, it’s based on color. So, when I pull prints to show to clients, I’m usually pulling in a specific color range that I know they relate to. With this particular client, I was pulling in a sea glass color range because it’s a light, airy water color. It’s very relaxing and spa-like. I wanted something soft that they wouldn’t get tired of for the window treatments.
How did you tie the master bedroom together?
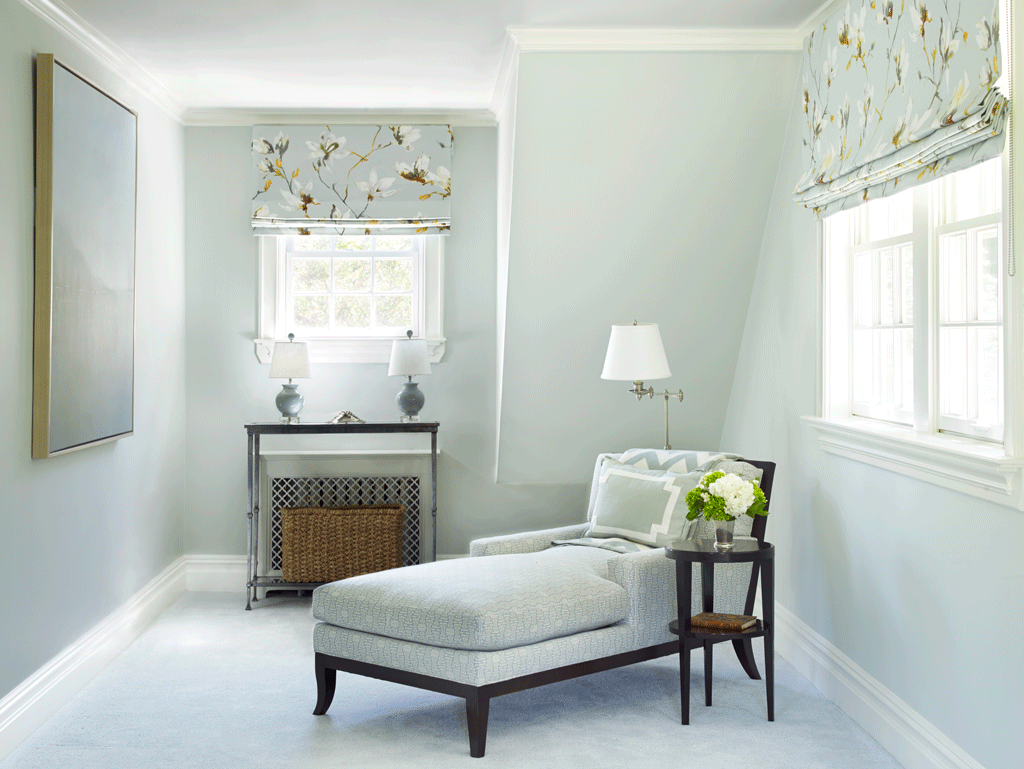
The master bedroom was pretty large with a bonus area where the chaise sits, allowing a true bedroom area and smaller area that functioned as a sitting area. Because of the unusual layout of the room, the space called for wall to wall carpeting. Area rugs would have left it somewhat chopped up.
For the carpeting and walls, I stayed in the same color family as the window treatments. I chose Benjamin Moore’s Healing Aloe for the walls and the ceiling and trim are White Dove. I use that color a lot because it’s not too bright. It is a soft white with a vintage feel to it. Actually, the whole house is done in White Dove trim to give it continuity and consistency throughout.
It’s in the details
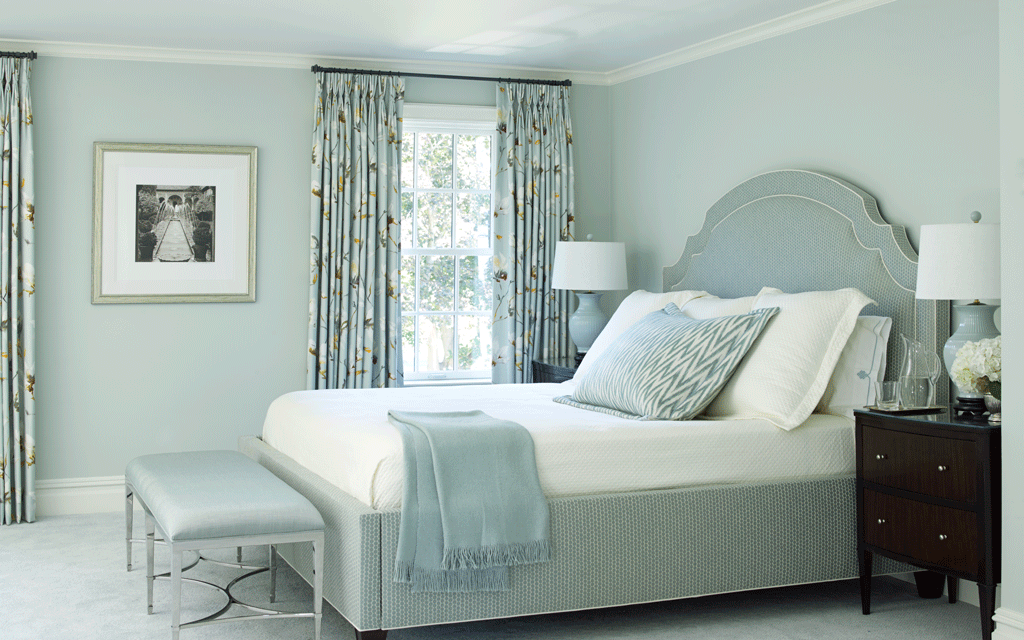
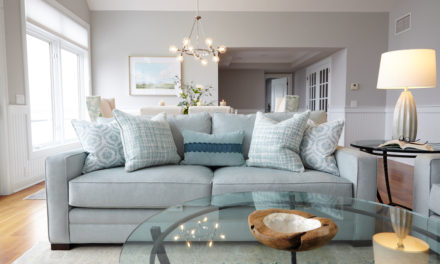
When you look at the overall picture of the master bedroom, it all looks very rich and pretty. But, you don’t notice all of the little details. Layering textural elements makes the room as a whole really interesting. Often, you wouldn’t notice these details until you’re in the space.
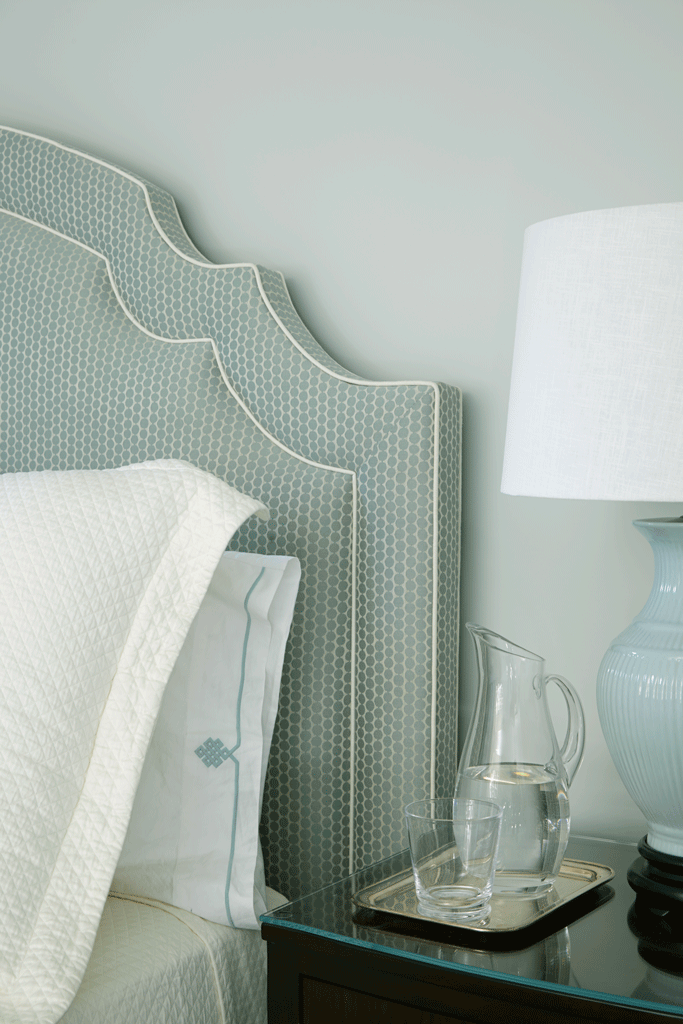
We used an ivory contrast cord on the headboard that was very close to the paint trim color in the room. The bedding chosen had accent colors in the sea glass found in the other fabrics along with wall and carpet color. (Pillowcases and sheets are by Serena & Lily, while the comforter and euro pillow shams are custom from Legacy.)
The long, simple lumbar placed atop the window seat cushion is the same pattern used on the center pillow on the bed. The upholstered bed fabric is a woven jacquard dot, while the fabric on the chaise has a subtle woven Greek key pattern to give it texture.
Anchor the space
I love to have something in a room that has depth to it to anchor the space. The side tables have a beautiful finish that look vintage, even though they’re new. The legs on the bed are the same dark walnut color as the wood base of the chaise, as well as the side table next to it. We also did a very narrow console with a metal frame — antique silver with black iron accents — to take attention away from the radiator.
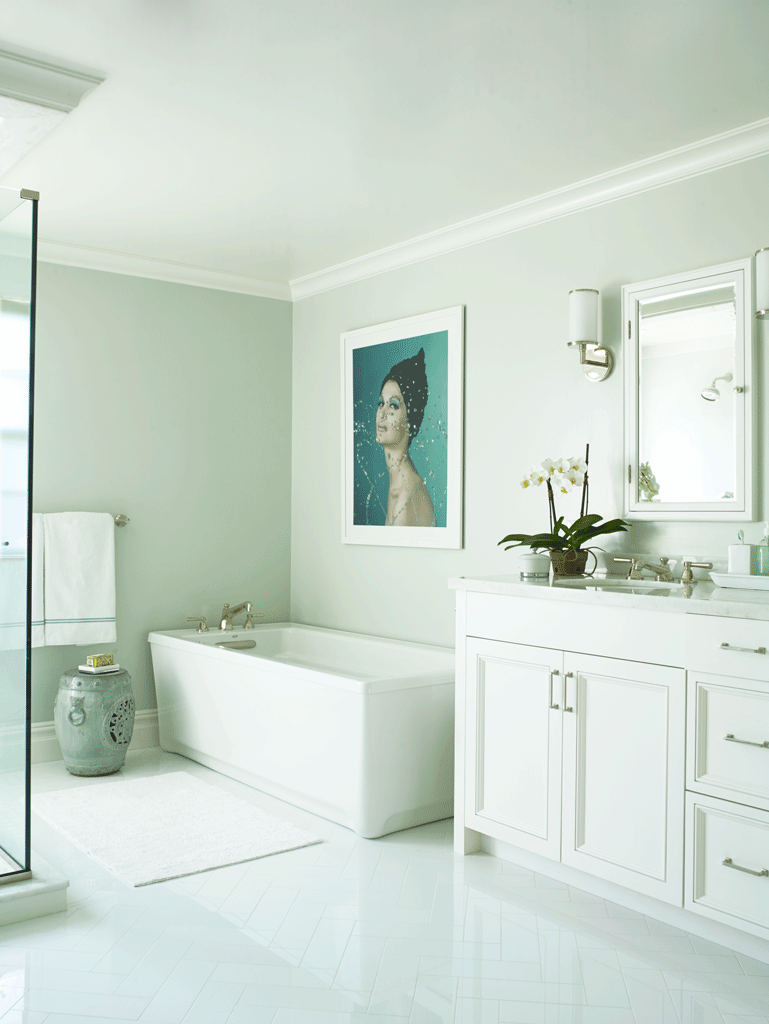
Where did you start with the bathroom?
We wanted to keep it clean and fresh. And it was important to tie the color with the bedroom to make it feel like a suite. For the walls, we went with a slightly darker version of Benjamin Moore’s Healing Aloe — Silver Crest. And for the floor, we picked a 4×8 glass tile that had the look and feel of statuary marble and laid it in a herringbone pattern. A pale, pale, green marble is featured on top of the vanity.
What do homeowners tend to forget when embarking on a DIY project?
(Hint: It’s not all about the color palette)
Most people have trouble with the scale of furniture in a room, which is critical in making the space work. The more common problem is that people try to include a variety of items in the room, and with the size of most new furniture, the room tends to fill up quickly and seems overcrowded.
When this happens, the overall look of the room is heavy and unappealing, and you don’t really enjoy the space.
NOT a two day process
There’s also a lot to figure out and keep up with construction wise. Home shows do a bathroom renovation in what appears to be a two day period, but people don’t understand how long it will actually take and the details necessary to pull it all together. The actual process requires demo, installation of plumbing roughs, then tile work for the floor and shower area.
Typically, vanities are custom made, unless you can find a suitable one that can simply be installed. Marble or stone needs to be selected for the vanity top, then templated, cut and installed. Then, the plumber can come back to finish the work. So, in the end, it’s all in the coordination of the trades that make it a long and somewhat tedious task. Plus, the attention to detail in order to really get it right and make it a space you love spending time in every day.
To view the complete transformation of this home in Bronxville, NY:
Interior Transformation: A Bronxville Tale – Part 1
How to Make an Old Kitchen Look Brand New
Interior Design by Ken Gemes
Photography by Tria Giovan
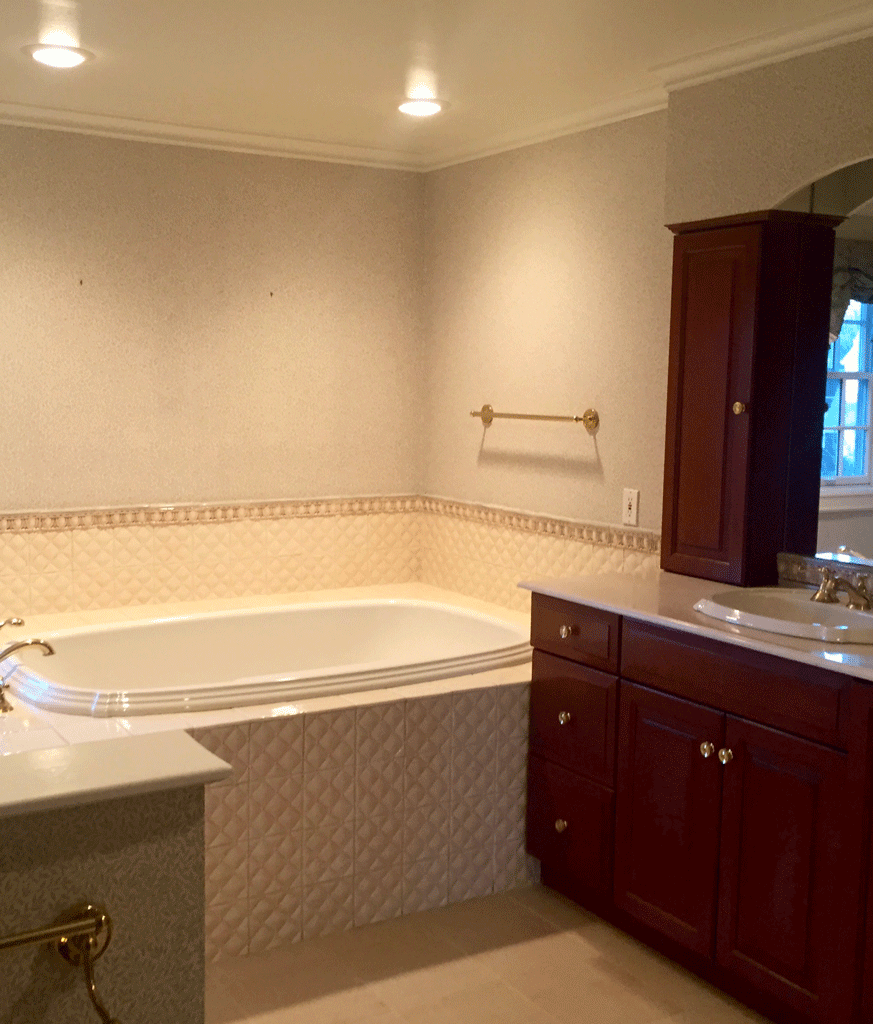
Before Photos by Ken Gemes


Great content! Super high-quality! Keep it up! 🙂